Performing the bridge pose correctly can transform your practice strengthening your core and hip flexors, improving posture, relieving stress, and boosting circulation. Follow this comprehensive guide to master the bridge pose, avoid common mistakes, explore variations, and discover its nine powerful benefits. Plus, get quick answers to the most frequently asked questions.
What Is Bridge Pose?
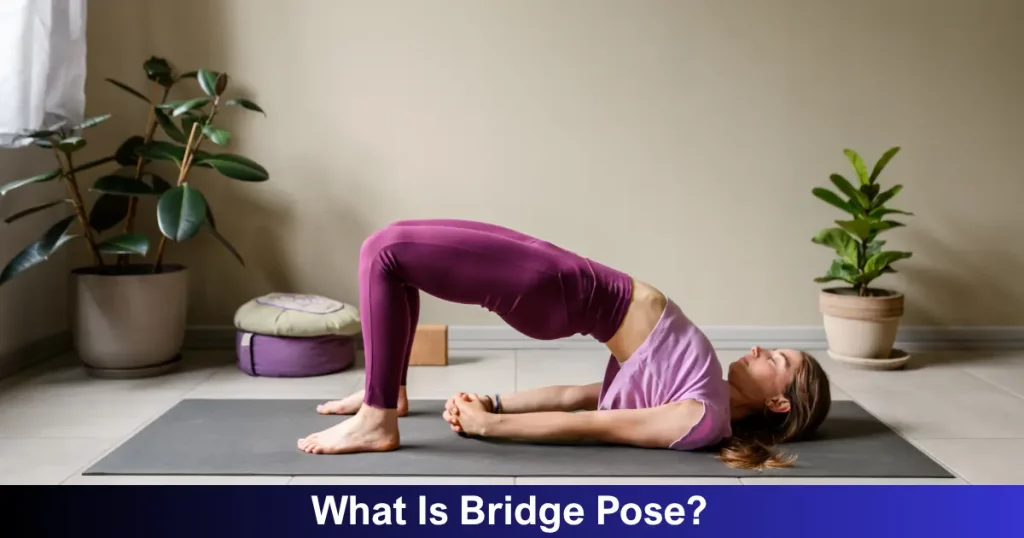
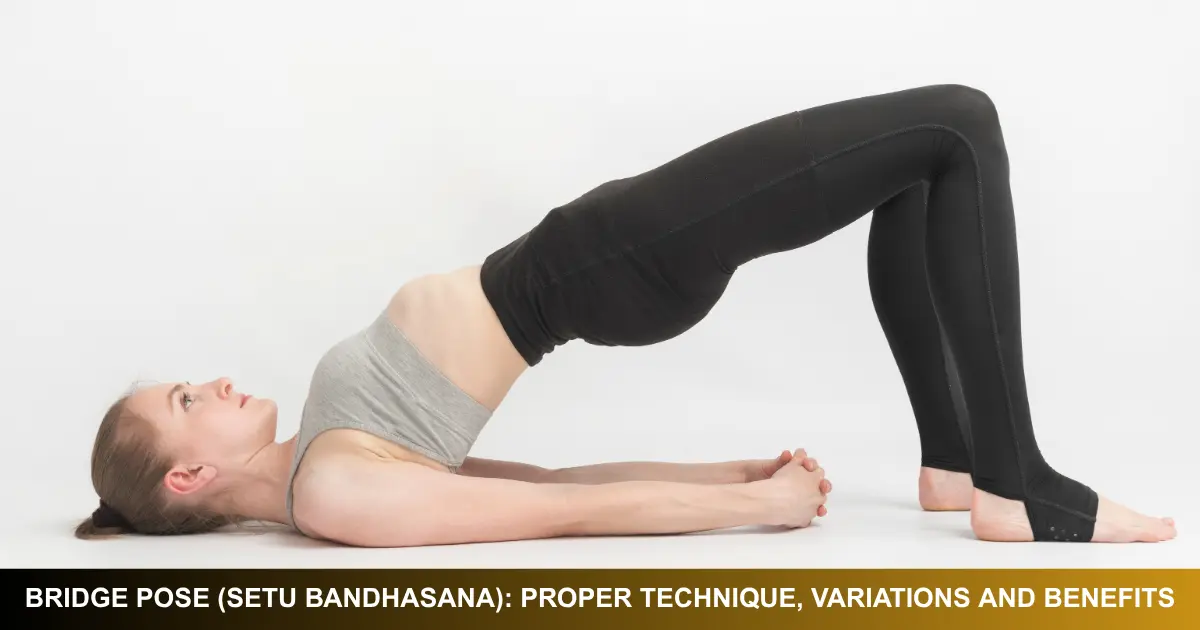
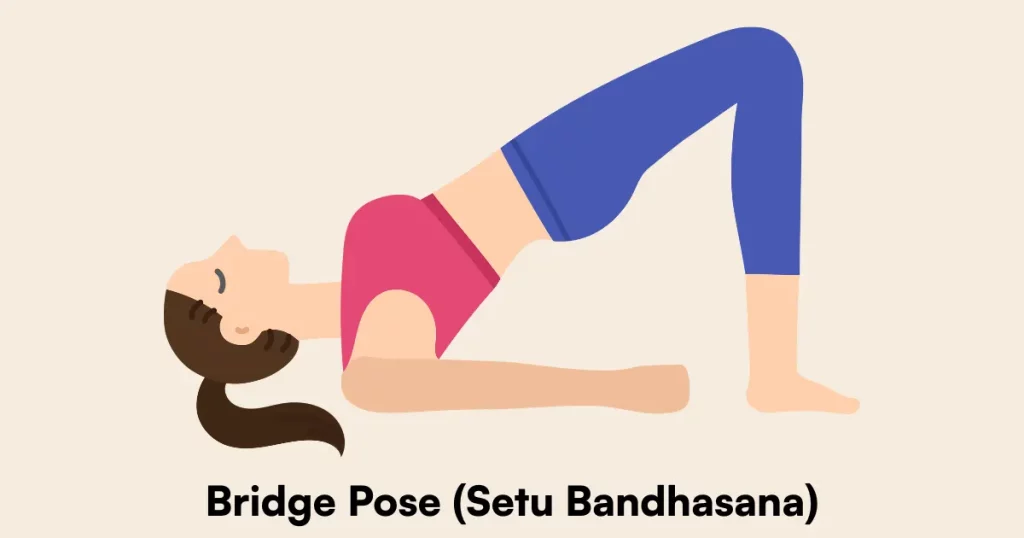
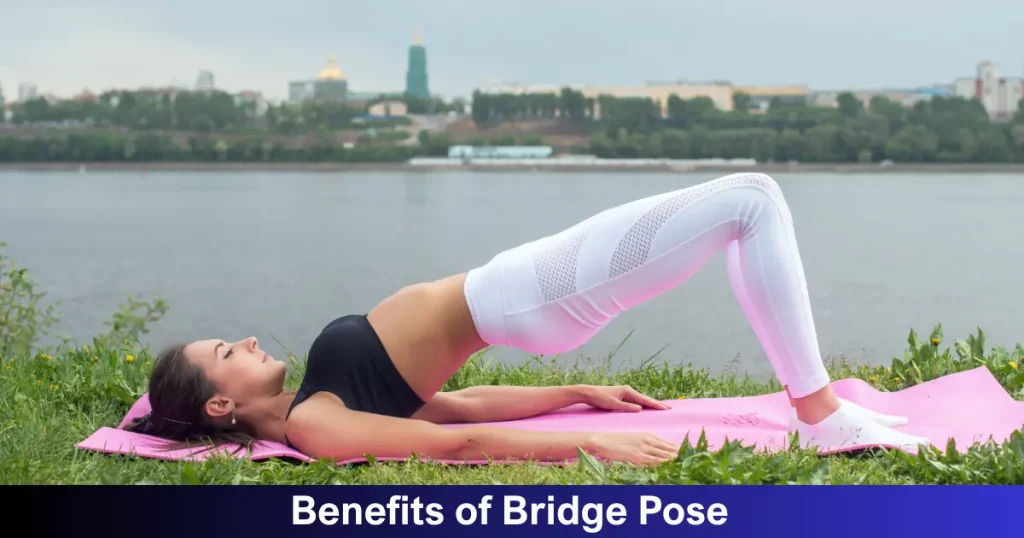
Bridge pose, or Setu Bandhasana in Sanskrit, is a beginner-friendly chest-opening yoga asana. By pressing your feet and arms into the mat and lifting your hips, you create a smooth arch from shoulders to knees like a bridge. This pose targets spinal mobility, hip flexibility, and core strength, making it ideal at the end of a yoga session or after any standing workout.
How to Do Bridge Pose: Step-by-Step Guide
- Lie on your back, knees bent, feet hip-width apart, arms by your sides with palms down.
- Place your feet close to your glutes, grounding evenly through heels and toes.
- Engage your core and press your lower back into the mat to eliminate gaps.
- Inhale, press through your feet, and lift your hips toward the ceiling vertebra by vertebra.
- Align knees over hips, thighs parallel, and keep head, neck, and shoulders relaxed on the floor.
- (Optional) Interlace fingers beneath your back, roll shoulders underneath, and press arms for extra lift.
- Hold for 30–60 seconds (5–10 deep breaths), focusing on stable inner thighs and engaged glutes.
- Keep your chin slightly tucked to protect the neck; avoid turning your head.
- Exhale to slowly lower your spine back to the mat, one segment at a time.
- Repeat for 3 sets of 10–15 lifts, resting between sets as needed.
Common Mistakes to Avoid
Even slight misalignments can limit benefits or cause discomfort. Watch out for:
- Skipping Warm-Up: Always loosen hips and spine with cat-cow or hamstring stretches first.
- Feet Too Turned Out: Keep toes pointing forward to protect knee joints.
- Neglecting Inner Thigh Engagement: Squeeze thighs inward to stabilize hips and deepen glute activation.
- Over-Arching the Chest: Focus on lifting the hips avoid excessive backbend that strains the neck.
- Knees Collapsing Inward: Maintain a small gap between knees to prevent leg collapse.
- Dropping Hips Too Quickly: Control the lift to maximize core and glute strengthening.
- Hyper-Arching Lower Back: Keep pelvis neutral, rolling the spine up and down evenly.
9 Benefits of Bridge Pose
- Stretches Neck & Spine: Releases tightness, improves posture, and enhances spinal flexibility.
- Opens Chest & Shoulders: Expands the rib cage for better lung capacity and counters slouched shoulders.
- Tones Core Muscles: Engages abs for improved balance, reducing lower back strain over time.
- Strengthens Legs, Hips & Glutes: Builds lower-body endurance and stability for daily movement.
- Boosts Digestion: Gentle abdominal lift massages internal organs, easing bloating and constipation.
- Enhances Circulation: Elevating the hips above the heart encourages blood flow to vital organs.
- Increases Spinal Mobility: Regular practice prevents stiffness and supports a full range of motion.
- Reduces Stress: Deep breaths and chest expansion soothe the nervous system and calm anxiety.
- Aids Weight Management: Activates large muscle groups, elevating metabolism and promoting fat loss.
Bridge Pose Variations
- Supported Bridge with Block: Place a yoga block under your sacrum for a restorative hold and gentle stretch.
- Strap-Assisted Bridge: Loop a strap above the knees to maintain hip alignment and inner-thigh engagement.
- Hands-Down Bridge: Keep palms flat on the mat rather than clasping them; ideal for shoulder discomfort or beginners.
Who Should Avoid Bridge Pose?
- Pregnant individuals in later trimesters (supine position may reduce blood flow).
- Those with neck, shoulder, or chronic back injuries.
- People experiencing knee or ankle pain without modification.
- Individuals with uncontrolled hypertension (pose may elevate blood pressure).
- Why Your Mind Wanders During Meditation
- Beginner Yoga Poses for Stress Relief
- Yoga vs Gym: Which is Better for Mental Health?
FAQs
1. How often should I practice bridge pose for best results?
Aim for 3–4 sessions per week, allowing rest days in between. Consistency is key to building strength, flexibility, and relieving tension over time.
2. Can beginners do bridge pose safely?
Yes. Start with feet hip-width apart and a gentle lift. Use props such as blocks or straps to support alignment until you gain strength and confidence.
3. How long should I hold the bridge pose?
Hold the pose for 30–60 seconds (5–10 breaths). Beginners may start at 15–20 seconds and gradually increase duration as strength and flexibility improve.
4. What modifications help if I have tight hips?
Place a rolled blanket under your sacrum or use a higher yoga block. Widen your feet slightly and focus on gradual hip lifts to avoid strain.
5. Will bridge pose help my lower back pain?
When practiced with proper form engaging core and avoiding hyper-extension it can strengthen supporting muscles and relieve mild lower back stiffness.
6. How can I deepen my bridge pose safely?
Work on hip flexor and chest opening stretches outside of bridge pose (e.g., low lunge, chest opener). Consistent practice and breath awareness will naturally deepen the posture.