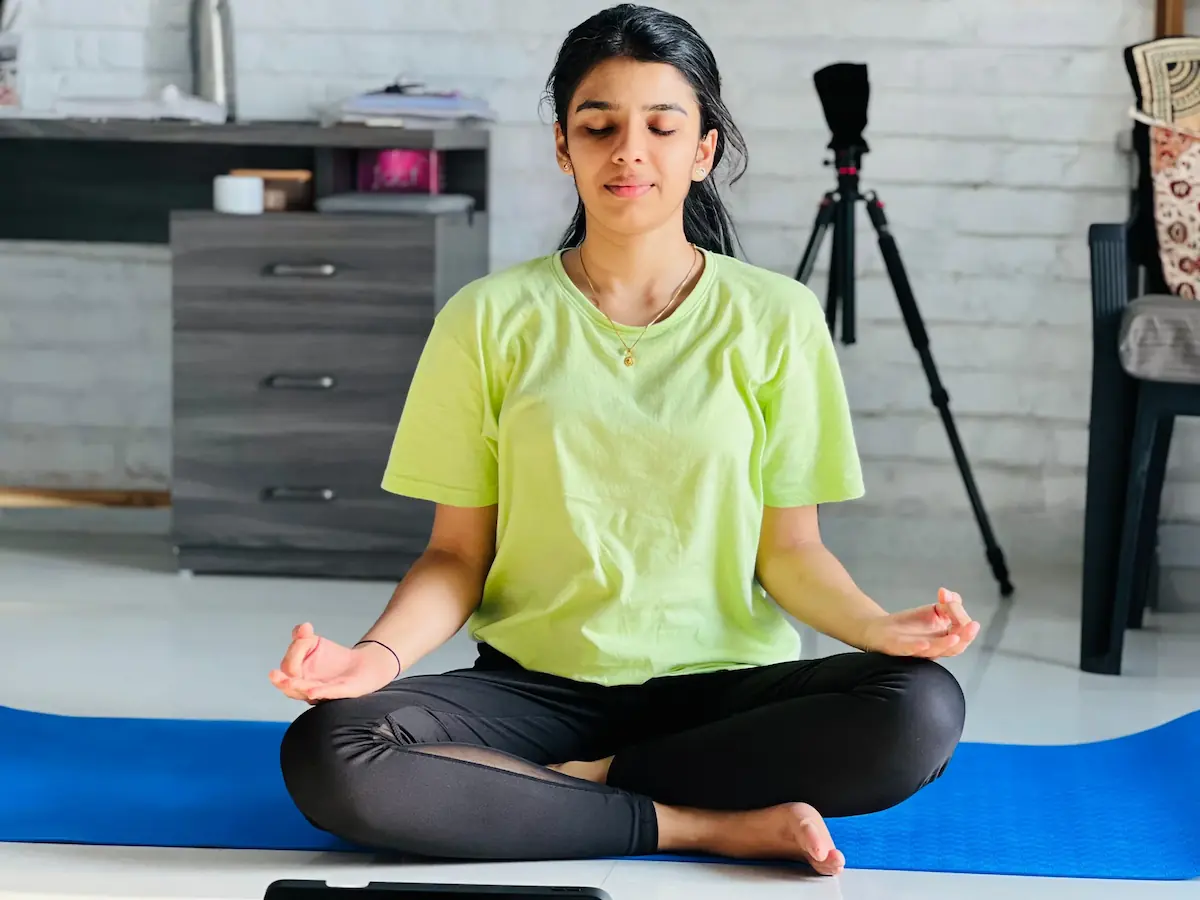
Looking to level up your yoga practice with an energizing arm balance? Crow Pose (Kakasana) and Crane Pose (Bakasana) are excellent entry-level arm balances that build upper body strength, boost confidence, and challenge your focus. This guide will break down everything you need to know to approach these poses safely and effectively even if you’re a beginner!
Who Can Practice Crow/Crane Pose?
These poses are great for:
- Intermediate yoga practitioners
- Anyone looking to improve core and arm strength
- Those who enjoy bodyweight balancing challenges
Best Time to Practice:
- Early morning or late evening on an empty stomach
- After a light warm-up session focused on wrists, hips, and shoulders
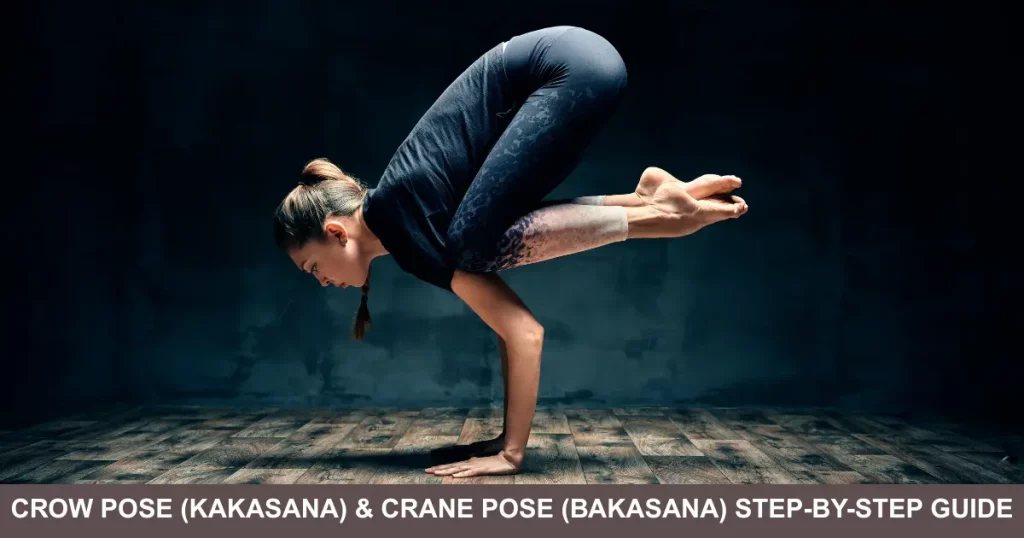
Difference Between Crow and Crane
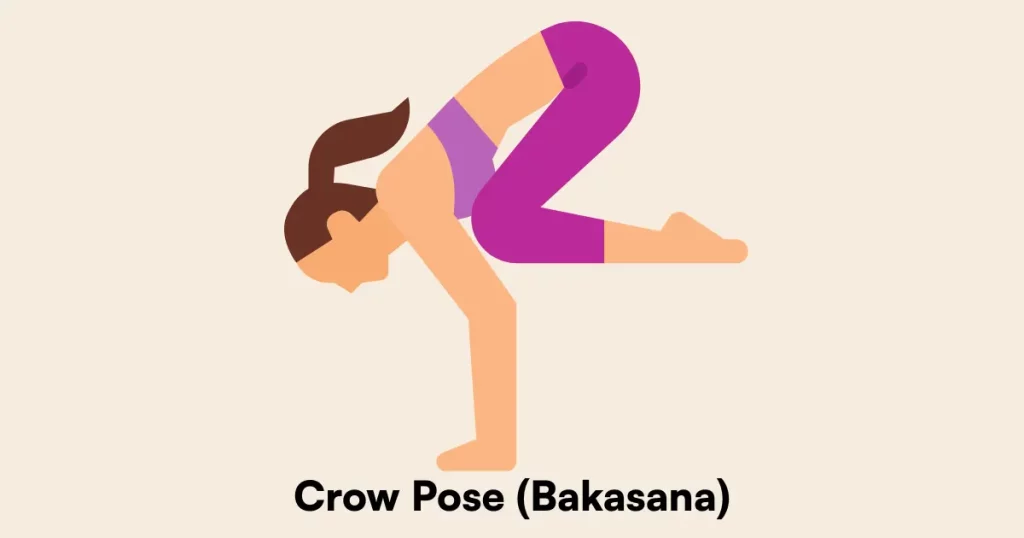
- Crow Pose (Kakasana): Arms are bent, knees rest on triceps.
- Crane Pose (Bakasana): Arms are straight, knees closer to underarms.
Both poses look similar but engage different levels of strength and balance.
Read More: The Magic Of Balasana: Why Every Yogi Loves Child’s Pose
Step-by-Step Instructions
Step 1: Garland Pose (Malasana) Prep
- Come into a deep squat with feet hip-width apart
- Keep your hands together at your heart center
- Focus on opening your hips and engaging your core
Step 2: Plant the Hands
- Place your palms on the mat about 6–8 inches in front of your feet, shoulder-width apart
- Spread your fingers wide for a solid base
Step 3: Shift Forward
- Come onto the balls of your feet
- Bend your elbows slightly inward (like in Chaturanga)
- Start leaning forward so your knees touch your upper arms (triceps for Crow, closer to armpits for Crane)
Step 4: Lift-Off!
- Engage your core strongly
- Look forward, not down
- Shift more weight into your hands and slowly lift one foot, then the other
- Hug your knees tightly in and keep your back rounded
Step 5: Breathe & Hold
- Hold the pose for 5–10 breaths
- To release, gently lower your feet back to the mat and move into Child’s Pose
Read More: 5 Yoga Asanas for a Healthy Heart (Beginner-Friendly Guide)
Common Mistakes to Avoid
- Looking down (causes instability)
- Elbows flaring outward (reduces strength)
- Lack of warm-up (especially wrists and core)
- Rushing the lift-off phase without proper engagement
Benefits of Daily Crow/Crane Pose Practice
- Builds core, arm, and wrist strength
- Enhances focus and balance
- Boosts confidence and body awareness
- Opens the groin and upper back
Modifications & Tips for Beginners
- Use a block: Place your feet on a yoga block to lift your hips higher
- Chair support: Practice the pose with feet on a chair to get used to arm placement
- Wall support: Place a cushion or bolster in front of your face to reduce fear of falling
- Reclined Crow: Practice lying on your back, mimicking the arm-leg connection without balancing
Routine Plan
Start with 3 rounds daily, holding for 5–10 breaths each. Add more time as your strength and confidence grow.
Suggested Warm-Ups Before Crow/Crane:
- Plank Pose
- Downward-Facing Dog
- Malasana (Garland Pose)
- Cat-Cow for wrist and spine prep
Counter Poses After:
- Child’s Pose
- Upward Plank (Purvottanasana)
- Camel Pose (Ustrasana)
Read More: Simple Yoga Poses for Depression to Restore Calm and Balance
Frequently Asked Questions (FAQs)
Q: Is Crow Pose harder than Crane Pose?
A: No Crow Pose (bent arms) is usually easier than Crane (straight arms), which requires more arm strength.
Q: How can I avoid falling forward?
A: Look forward, not down. Also, place a pillow or folded blanket in front of you to reduce fear.
Q: Do I need arm strength for this pose?
A: Yes, but core strength is more important. Engage your abs to lift the legs.
Q: Can I practice this if I have wrist pain?
A: Avoid or use props like wedge blocks. Always warm up your wrists first.
Q: How long will it take to master this pose?
A: With consistent practice (3–5x a week), many beginners feel stable in 2–4 weeks.