Thinking about starting a home yoga routine? Great choice! Practicing yoga at home is one of the most empowering habits you can build for your mind and body. It saves time, lets you go at your own pace, and allows you to build strength, flexibility, and calm right in your living room.
If you’re new to yoga, don’t worry. The 10 beginner-friendly poses below are easy to follow, effective, and a great way to create a balanced and joyful home practice.
1. Malasana (Garland Pose / Squat)
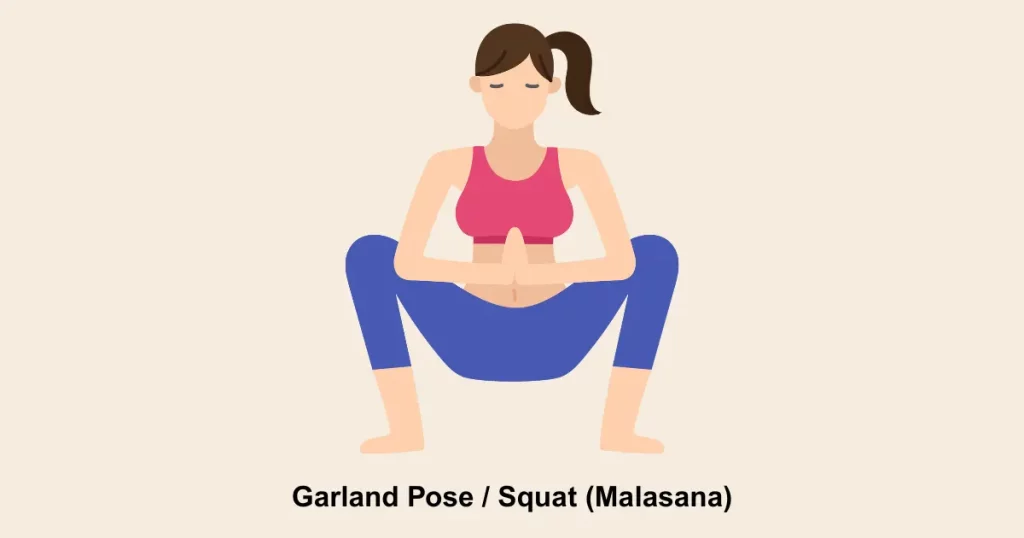
How to do it:
- Stand with feet slightly wider than hips, toes turned outward.
- Bend your knees and lower your hips into a deep squat.
- Bring your palms together at your chest (Anjali Mudra) and press your elbows into your knees.
- Keep your back straight and chest lifted.
Benefits:
- Opens hips and groin
- Relieves lower back tension
Tips:
- Can’t keep heels down? Place a rolled blanket underneath.
- Sit on a block if your knees feel strained.
2. Chaturanga Dandasana (Four-Limbed Staff Pose)
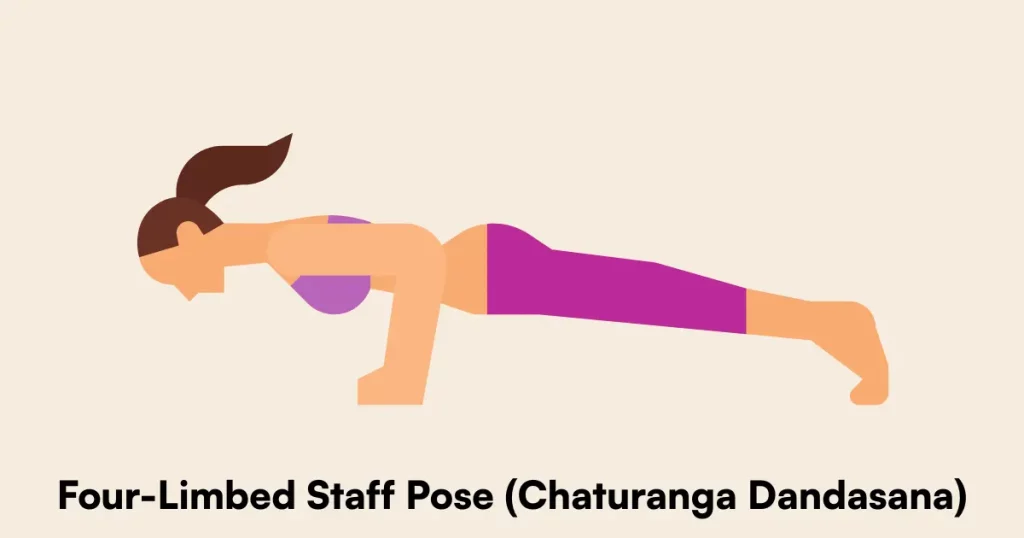
How to do it:
- Start in Plank.
- Lower your body halfway down, elbows hugging close to your ribs.
- Keep your body in a straight line, wrists under elbows.
Benefits:
- Builds full-body strength
- Improves posture and control
Tips:
- Beginners: Drop knees to the floor for support.
- Breathe slowly don’t rush this pose!
3. Utthita Trikonasana (Extended Triangle Pose)
How to do it:
- Step feet wide apart, turn your right foot out.
- Extend arms at shoulder height, reach forward and tilt down, placing your hand on your shin or a block.
- Extend the other arm toward the ceiling and look up.
Benefits:
- Strengthens legs and core
- Increases side-body flexibility
Tips:
- Avoid locking your knees.
- Focus on alignment, not reaching the floor.
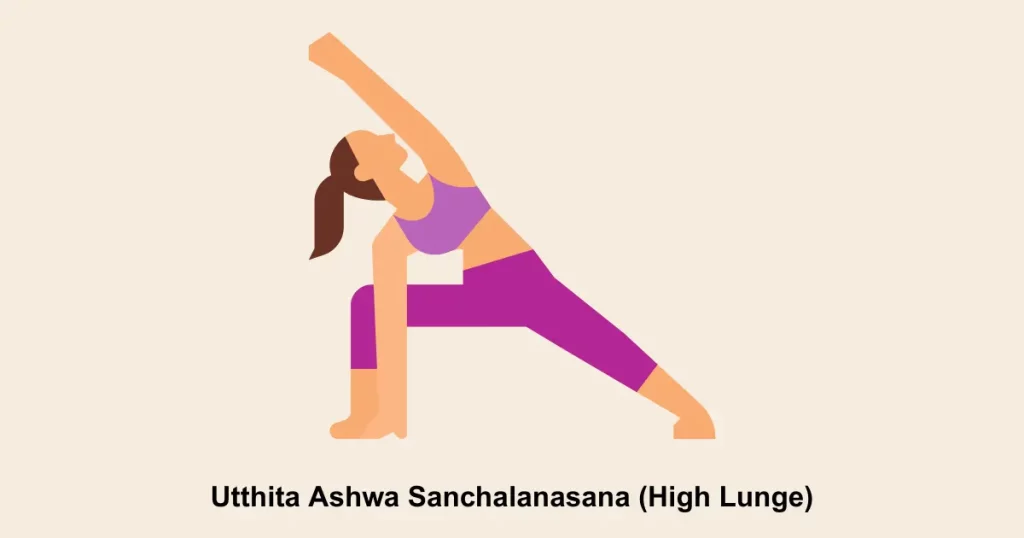
4. High Lunge (Ashta Chandrasana Variation)
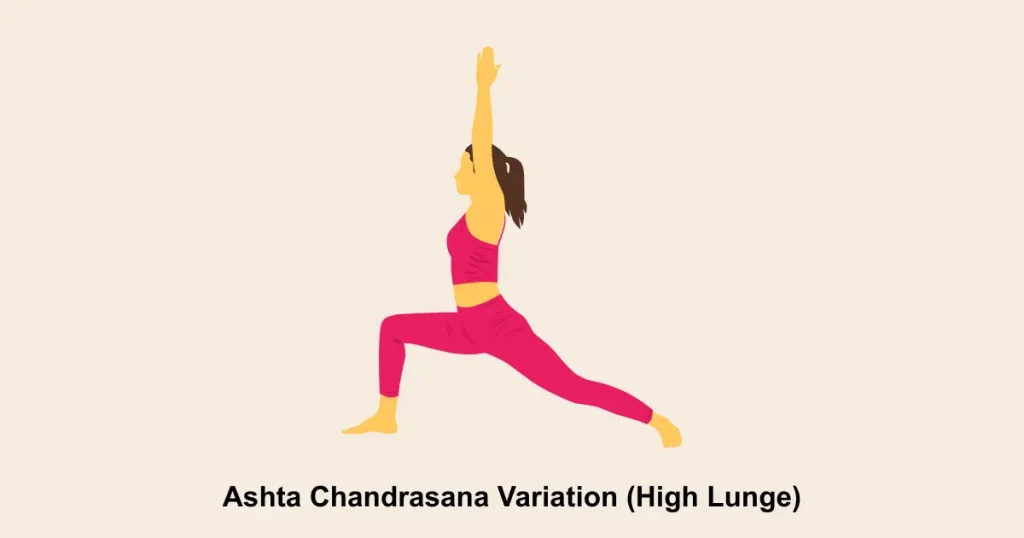
How to do it:
- Step one foot forward and the other back, bending the front knee.
- Keep your back leg strong and straight, heel lifted.
- Reach arms overhead, palms facing inward.
Benefits:
- Opens hip flexors
- Builds lower body and core strength
Tips:
- Wobbling? Widen your stance for better balance.
- Tight hips? Slightly bend the back knee to reduce strain.
5. Salamba Setu Bandha Sarvangasana (Supported Bridge Pose)
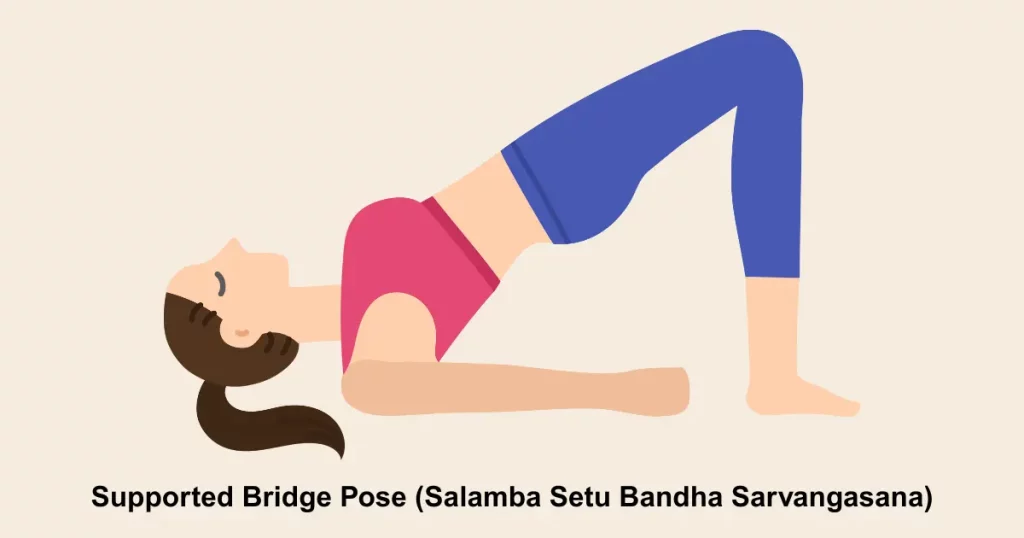
How to do it:
- Lie on your back, knees bent, feet hip-width apart.
- Lift your hips and place a block under your sacrum.
- Rest your pelvis on the block and relax.
Benefits:
- Gently opens chest and spine
- Eases lower back tension
Tips:
- Use a blanket on the block for extra comfort.
- Keep knees and feet parallel don’t let them splay out.
6. Ustrasana (Camel Pose)

How to do it:
- Kneel with knees hip-width apart.
- Place hands on the lower back or heels.
- Press hips forward, lift chest, and gently lean back.
Benefits:
- Strengthens back muscles
- Opens the chest and shoulders
Tips:
- Tight back? Tuck toes or keep hands on hips.
- Engage your core to support your lower back.
7. Janu Sirsasana (Head-to-Knee Forward Bend)
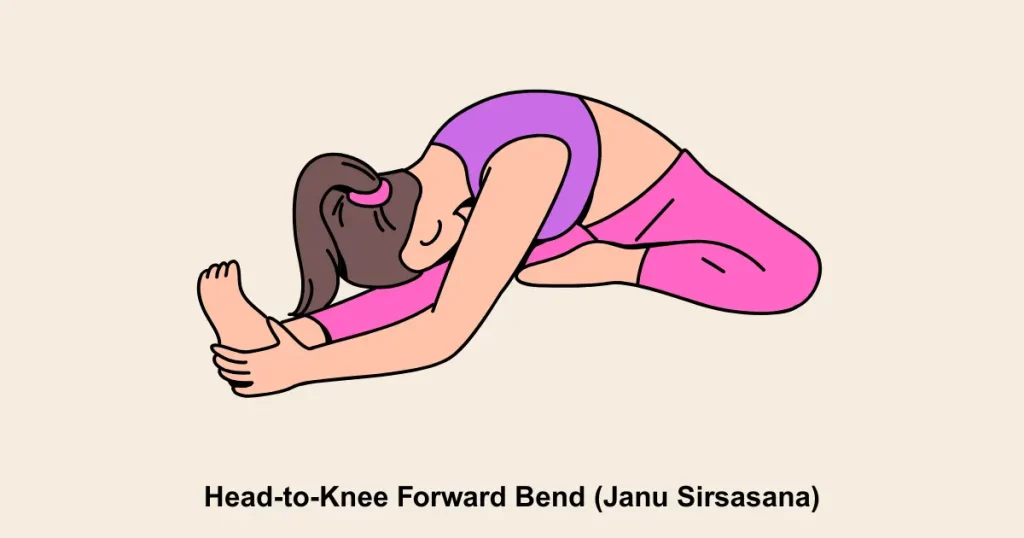
How to do it:
- Sit with one leg extended, other foot tucked into inner thigh.
- Inhale, lengthen spine; exhale, fold forward over extended leg.
- Keep spine long and chest open.
Benefits:
- Stretches hamstrings and spine
- Calms the mind
Tips:
- Use a strap if you can’t reach your foot.
- Sit on a folded blanket to keep hips elevated.
8. Reclining Twist (Supta Matsyendrasana Variation)

How to do it:
- Lie on your back, knees bent.
- Drop knees to one side, arms in a “T” shape.
- Gaze opposite direction of knees.
Benefits:
- Releases spine and lower back
- Aids digestion and relaxation
Tips:
- Place a pillow or blanket between knees for comfort.
- Don’t force the twist keep it gentle.
9. Viparita Karani (Legs-Up-the-Wall Pose)
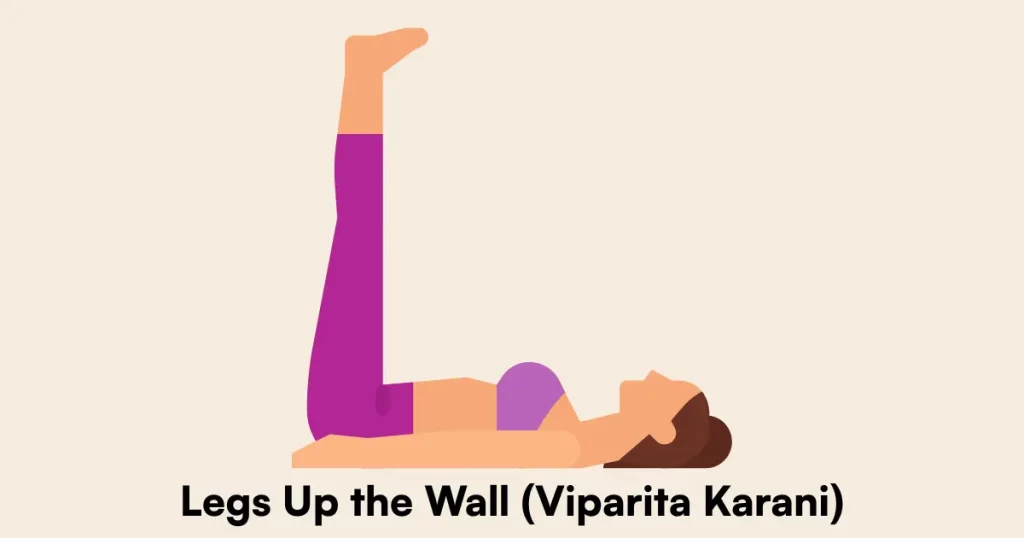
How to do it:
- Sit sideways next to a wall, then lie back and swing legs up the wall.
- Arms rest by your sides, palms up.
- Close your eyes and breathe deeply.
Benefits:
- Relieves tired legs and feet
- Reduces stress and anxiety
Tips:
- Use a bolster or folded blanket under your hips for support.
- Stay in the pose for 5–15 minutes.
10. Adho Mukha Svanasana (Downward-Facing Dog)
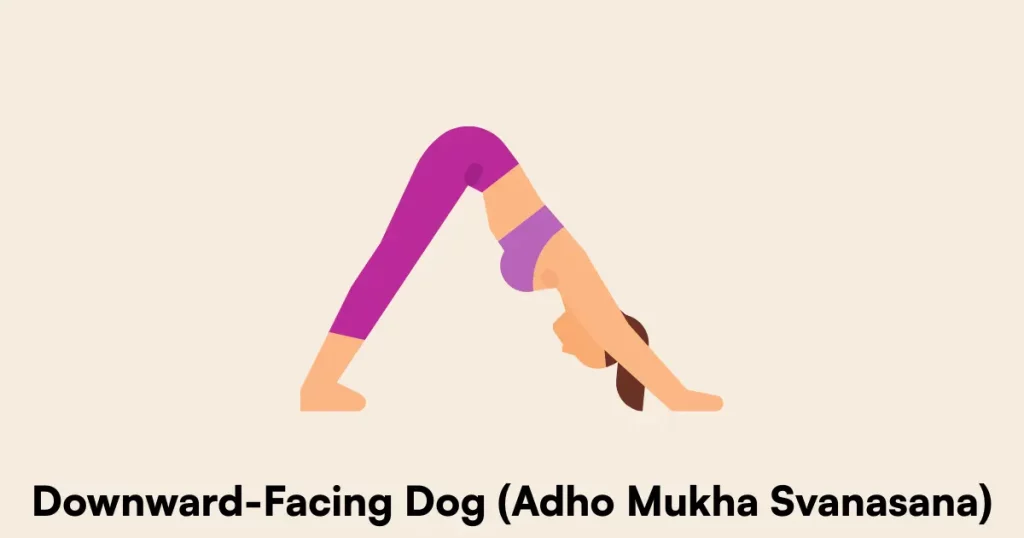
How to do it:
- Begin on hands and knees.
- Tuck toes, lift hips to form an inverted “V.”
- Press heels gently down and spread fingers wide.
Benefits:
- Stretches entire body
- Boosts circulation and energy
Tips:
- Bend knees if your hamstrings are tight.
- Focus on a straight spine over flat heels.
Conclusion: Build Your Home Practice, One Pose at a Time
Starting a home yoga practice doesn’t mean doing everything perfectly it means showing up with intention and listening to your body. These 10 poses are a fantastic foundation to build strength, increase flexibility, and boost your mental wellness.
Try practicing 2–3 of these poses daily and gradually build your routine. Your body (and mind) will thank you!
Namaste 🙏💛